
How to Add an AI Sales Agent to WordPress Without Coding (2026)
How to Add an AI Sales Agent to WordPress Without Coding (2026)
WordPress continues to power over forty percent of the entire internet. It is the undeniable king of content management systems. However, while WordPress is fantastic for publishing content, out of the box, it is notoriously poor at capturing inbound leads in real time.
For the past decade, the standard operating procedure for a WordPress site was to install a plug-in like Contact Form 7 or WPForms, place it on a "Contact Us" page, and wait. But as B2B and B2C buyer expectations have evolved, asking a prospect to fill out a static form and wait 24 hours for a response is a recipe for high bounce rates and lost revenue.
In 2026, the competitive advantage belongs to websites that engage visitors conversationally. By adding a purpose-built AI sales agent to your WordPress site, you transform it from a static digital brochure into an active, 24/7 lead qualification engine.
The best part? You do not need to be a developer. In this guide, we will walk you through exactly how to add a high-converting AI chatbot to your WordPress site in under five minutes.
1. Why Your WordPress Site Needs More Than Just Contact Forms
When a potential client lands on your WordPress site, they usually have a specific problem to solve. They might be looking for pricing details, trying to understand if your software integrates with their existing stack, or attempting to verify your service area.
If the answer is buried deep in a blog post or hidden on a secondary FAQ page, the visitor is likely to leave. Static forms compound the problem:
- High Abandonment Rates: Forms feel interrogative. Users abandon them the moment they see too many required fields.
- Delayed Gratification: A submitted form provides no immediate value to the user. It only adds them to a queue.
- Lack of Context: When an SDR finally replies to the form submission, the prospect has often forgotten the immediate context of their query.
An AI sales agent solves all three of these friction points simultaneously. It engages the visitor the moment they show intent, retrieves the exact answer they are looking for, and collects their contact information conversationally.
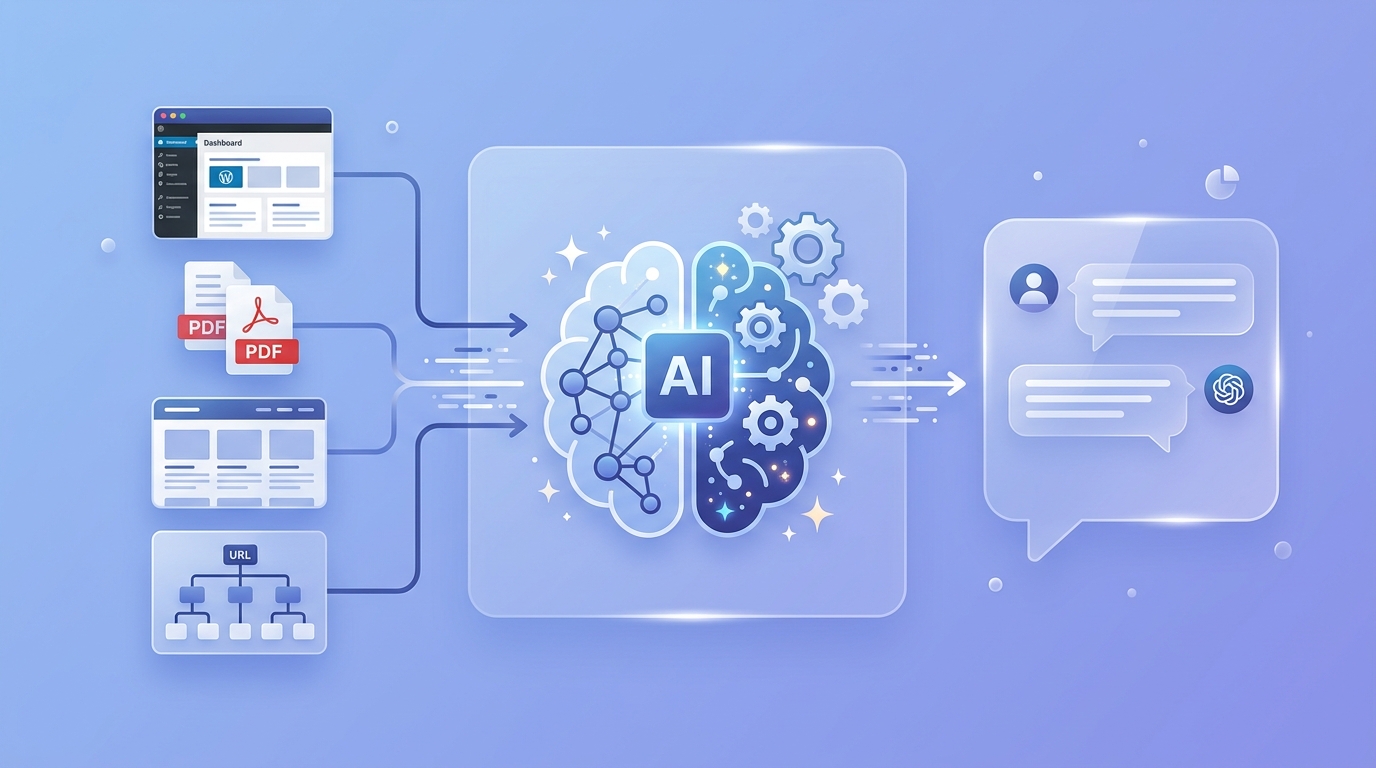
2. Preparing Your WordPress Content for AI Training
 AI Agent Training
Before you install the agent on your site, you must ensure the AI knows what to say. With platforms like LeadAdvisor AI, the bot uses Retrieval-Augmented Generation (RAG). This means it only answers based on the specific documents and URLs you feed it.
You do not need to manually program decision trees or write out hundreds of "If this, then that" logical rules. You simply provide the raw data.
The Best Documents to Upload
To ensure your WordPress AI agent is instantly effective, upload the following to your LeadAdvisor dashboard:
- Your Core Pricing PDFs: So the AI can quote accurate minimums and package details.
- Detailed Service Pages: Allowing the AI to understand exactly what you do (and more importantly, what you do not do).
- Internal Sales Scripts: Uploading your best SDR's objection handling guide ensures the AI responds with the same strategic tone.
- Direct Sitemap URLs: You can simply paste your raw WordPress sitemap URL into LeadAdvisor, and the platform will automatically read and comprehend your entire website in under 60 seconds.
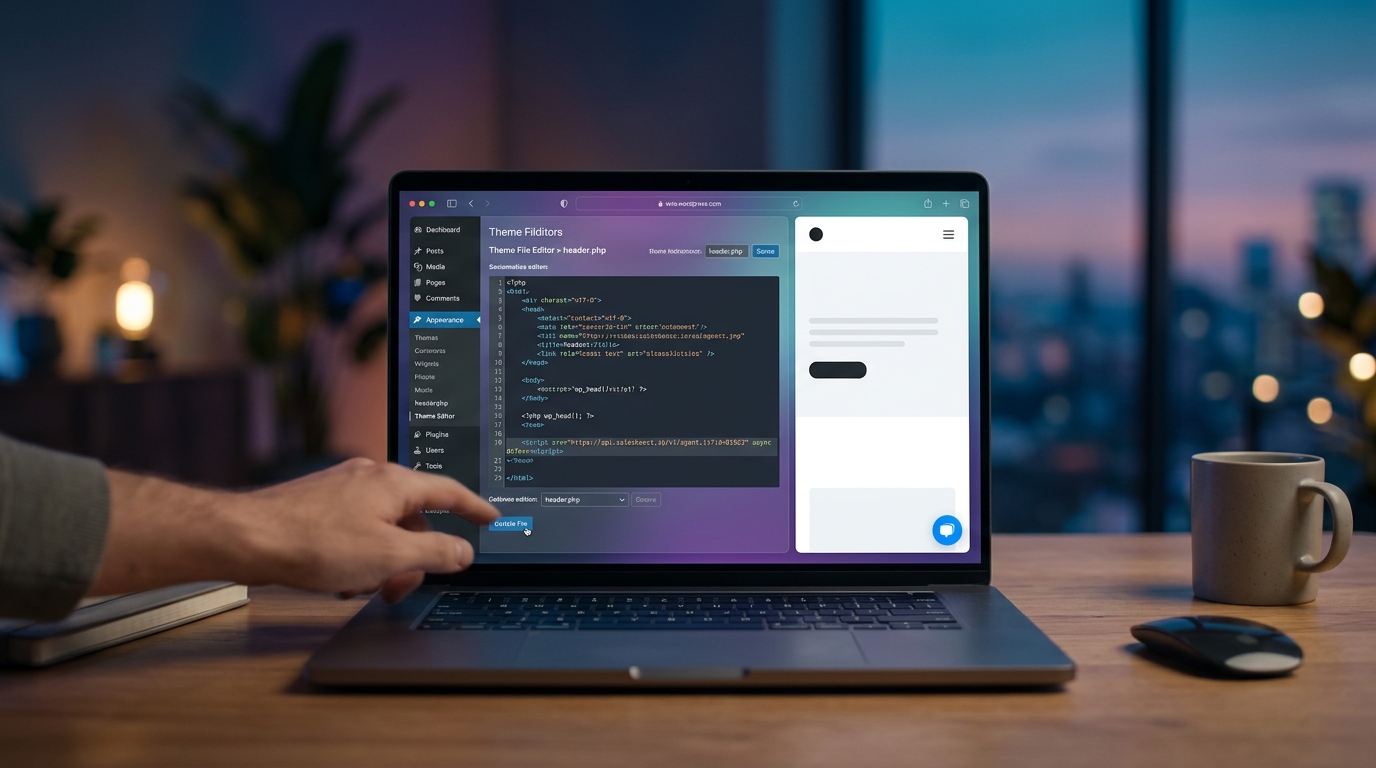
3. The 5-Minute LeadAdvisor AI JavaScript Implementation
 Zero-Code Deployment
Many WordPress users fear adding new software because they assume it requires complex PHP modifications or clunky third-party plugins that slow down page load times. LeadAdvisor avoids the plugin bloat entirely.
Here is the exact zero-code setup process:
- Copy Your Unique Snippet: Once your agent is trained in the LeadAdvisor dashboard, navigate to the "Deploy" tab. You will be provided with a single string of asynchronous JavaScript code.
- Access Your WordPress Header: From your WordPress admin dashboard, you can inject this code globally. You can do this by navigating to your theme's settings (if they support header injections), or by using a lightweight, standard plugin specifically designed to safely add code to headers and footers.
- Paste and Publish: Paste the snippet right before the closing head tag of your site. Hit save.
That is the entire implementation process. Because the script is purely asynchronous, it loads in the background and has absolutely zero negative impact on your Core Web Vitals or SEO site speed rankings.
4. Customizing the Widget to Match Your WordPress Theme
A chatbot should never look like an afterthought bolted onto the side of your website. It must feel like a native, integrated part of your brand experience.
Within the LeadAdvisor dashboard, you govern all the visual and tonal aesthetics without ever touching a CSS file.
Visual Configuration
You can perfectly match the bot to your existing WordPress theme:
- Input your exact HEX codes to match your brand's primary buttons.
- Upload your company logo or a custom avatar to serve as the bot's face.
- Adjust the shape and placement of the chat bubble so it does not obscure important footer links or cookie banners on mobile devices.
Tonal Configuration (The System Prompt)
Just as important as how the widget looks is how the widget sounds. If you run a high-end corporate law firm, you do not want your AI using emojis and casual slang. If you run a vibrant marketing agency, a rigid, robotic tone will alienate visitors.
By simply typing natural instructions into the system prompt setting (for instance: "You are a professional but welcoming sales assistant for a luxury real estate agency. Keep your answers concise and always push to schedule a private viewing"), you instantly dictate the entire personality of the agent.
5. Capturing and Routing Your New Leads
Once the AI agent is live on your WordPress site, it will begin interacting with your traffic immediately. But the goal is not just conversation; the goal is pipeline generation.
When the LeadAdvisor agent successfully qualifies a visitor and captures their email or phone number, that data must flow seamlessly into your existing operations.
- Instant Email Notifications: As a baseline, your sales team can receive immediate email alerts the second a qualified lead is captured, including the full text transcript of the conversation.
- CRM Syncing: Utilizing webhooks, the captured data and chat transcript can be pushed directly into Salesforce, HubSpot, or whichever CRM you utilize, creating a new contact record automatically.
- Smart Human Handover: If a prospect on your WordPress site asks a highly complex question that requires an Account Executive's immediate touch, the AI can alert your team to jump directly into the live chat and take over the conversation seamlessly.
Conclusion: Upgrade Your WordPress Funnel Today
Your WordPress site is likely the center of gravity for your entire marketing strategy. You spend significant budget on SEO, paid ads, and social media just to drive traffic to those pages. Continuing to rely on static web forms to capture that hard-earned traffic is a massive operational leak.
Deploying an AI sales agent is the highest leverage action you can take to immediately boost your inbound conversion rates. It is an infrastructure upgrade that requires zero coding, sets up in minutes, and operates flawlessly 24/7.
Stop letting your website traffic bounce into the void. Build your AI agent today and discover the power of conversational lead generation. Start your 14-day free trial of LeadAdvisor AI.